Celebrating Americana (Part 1)
/Food

I love a good celebration and look for any excuse to have one! September is National “Americana” Month, and LyonsLifestyle is paying tribute to true meaning of this term coined in the 1800s. September is a time to reflect upon all that has been weaved into the quilt we call America, as we come together to celebrate our melting pot of nostalgia, cultures, religions, politics, history, music, art, food and fashion all of which make up the zeitgeist of America. Our Americana…
What does the term “Americana” conjure up for you? Apple Pie ~ S’mores ~ Lobster Rolls ~ Deep Dish Pizza ~ Corn dogs ~Cheeseburgers ~ Chicken and Waffles~ English Muffins ~ Fortune Cookies ~ AND Baseball!
First up we celebrate Labor Day, a holiday also originating in the 1800s, to celebrate and pay homage to the labor workers in our country; the men and women who contributed to making America the great and prosperous country it is by the sacrifices and hard work they made to society.
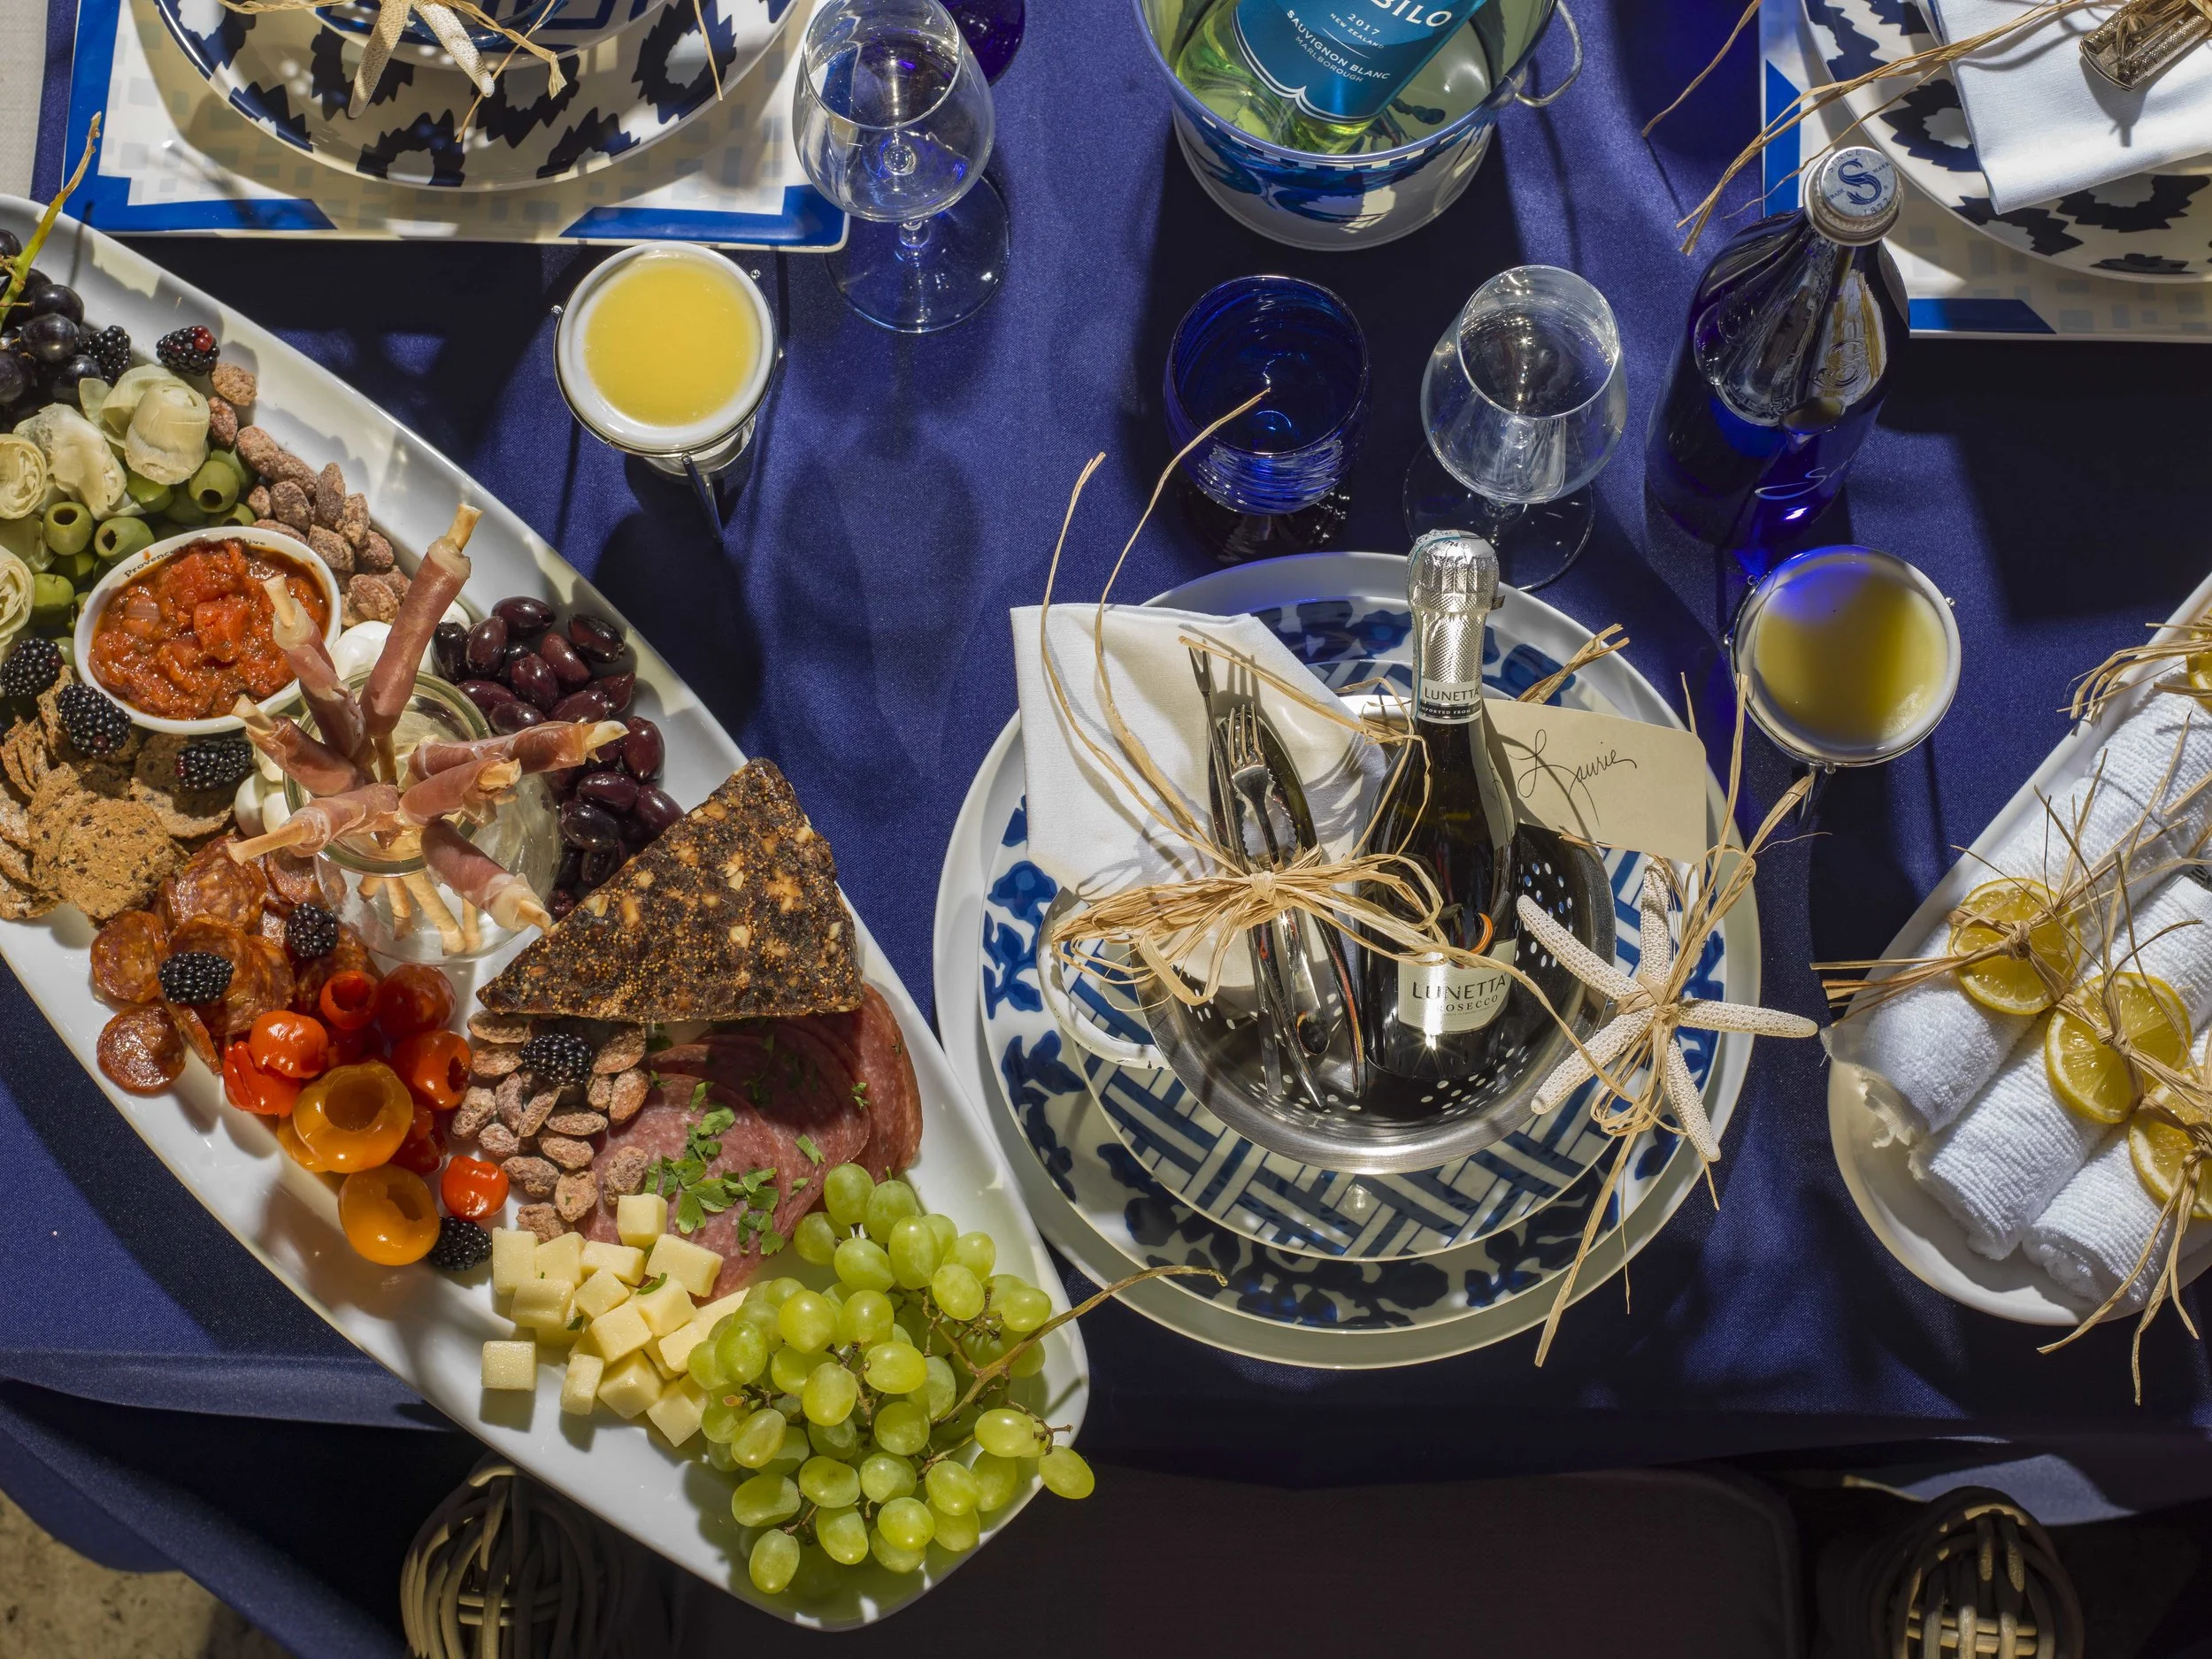
We traditionally commemorate Labor Day with big end-of-the-season BBQ’s and soirees of all kinds. And, even though summer isn’t officially over until September 22nd, this long holiday weekend has come to symbolize summer’s grand finale!
It’s that time when we bid adieu to long, lazy beach days, sunset sails, candlelight alfresco dining, Rose’ Sundays, firework displays, sun-drenched summer vacations and sun-kissed skin.
So let’s raise our glass in a toast to workers everywhere and celebrate Americana with the ultimate celebratory meal perfect for alfresco entertaining, LOBSTER!
By this time of the season, we’ve all had our fair share of hot dogs and hamburgers. So I like to change it up and go out with a bang with something a little more special!


Photo Left: My daughter Chloe featured in Nantucket Magazine (N Magazine). Photograph by Brian Sager Photography. Photo Right: A simple circle cutter and skewered blueberries “make the ordinary extraordinary”!
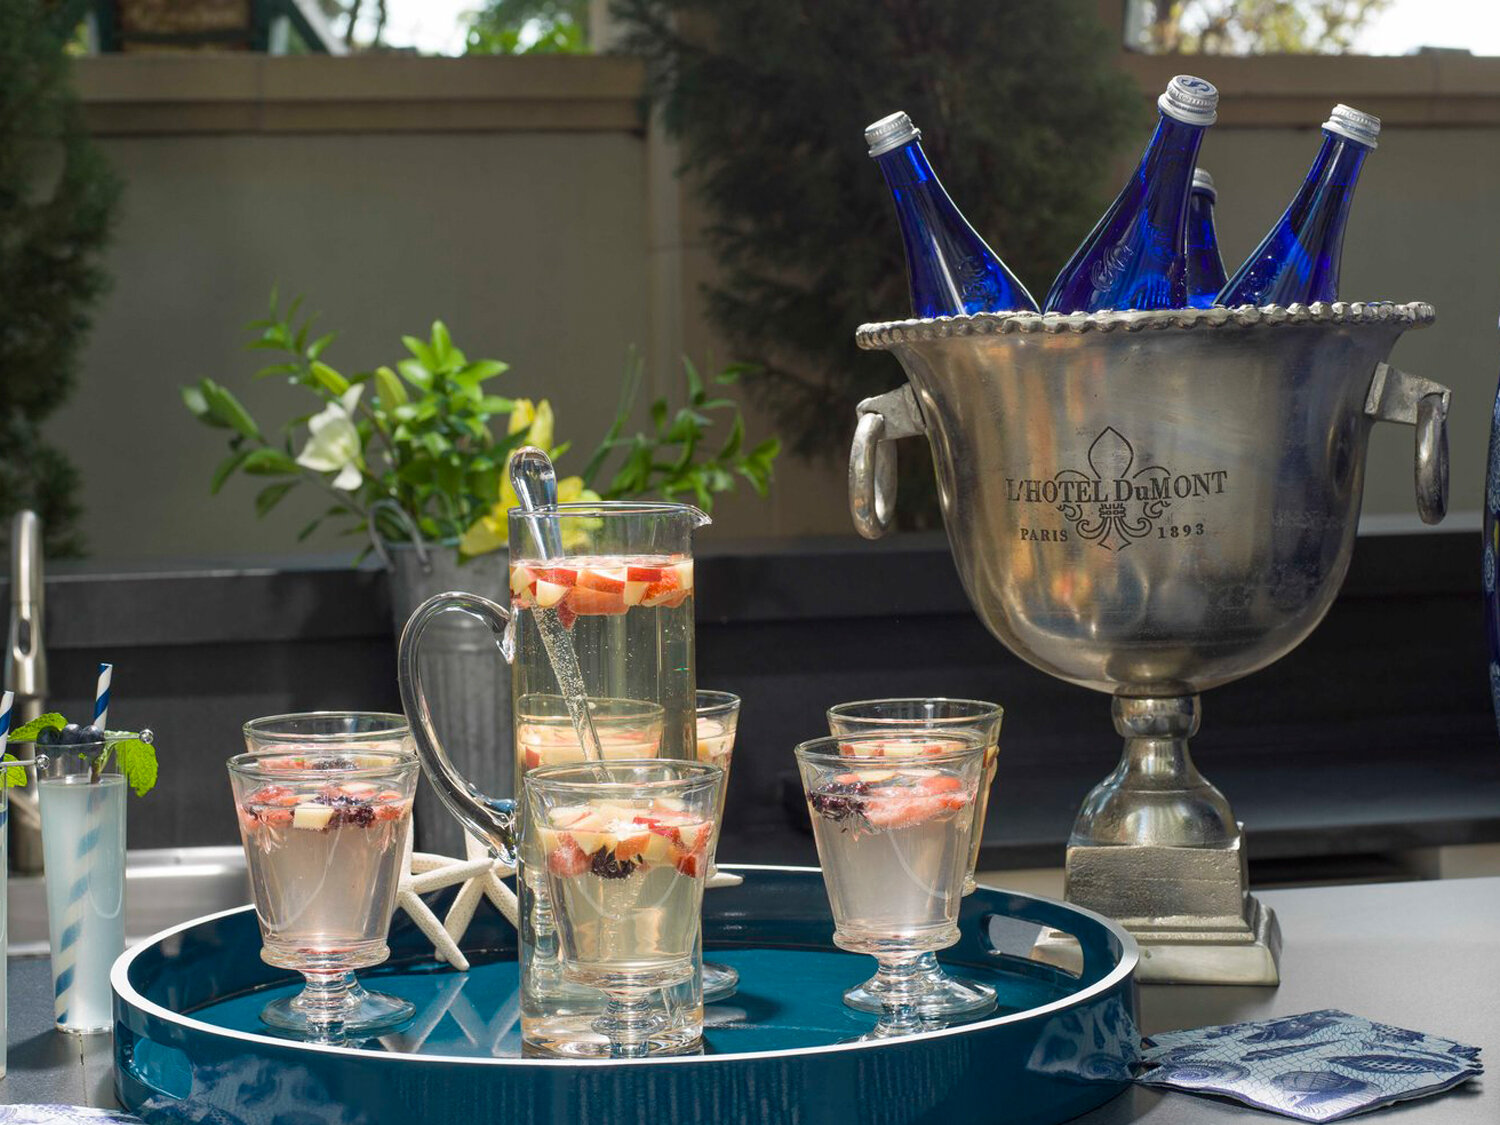
Some Fresh Ideas for a Perfect Labor Day Menu
Blueberry Vodka Lemonade
White Sangria
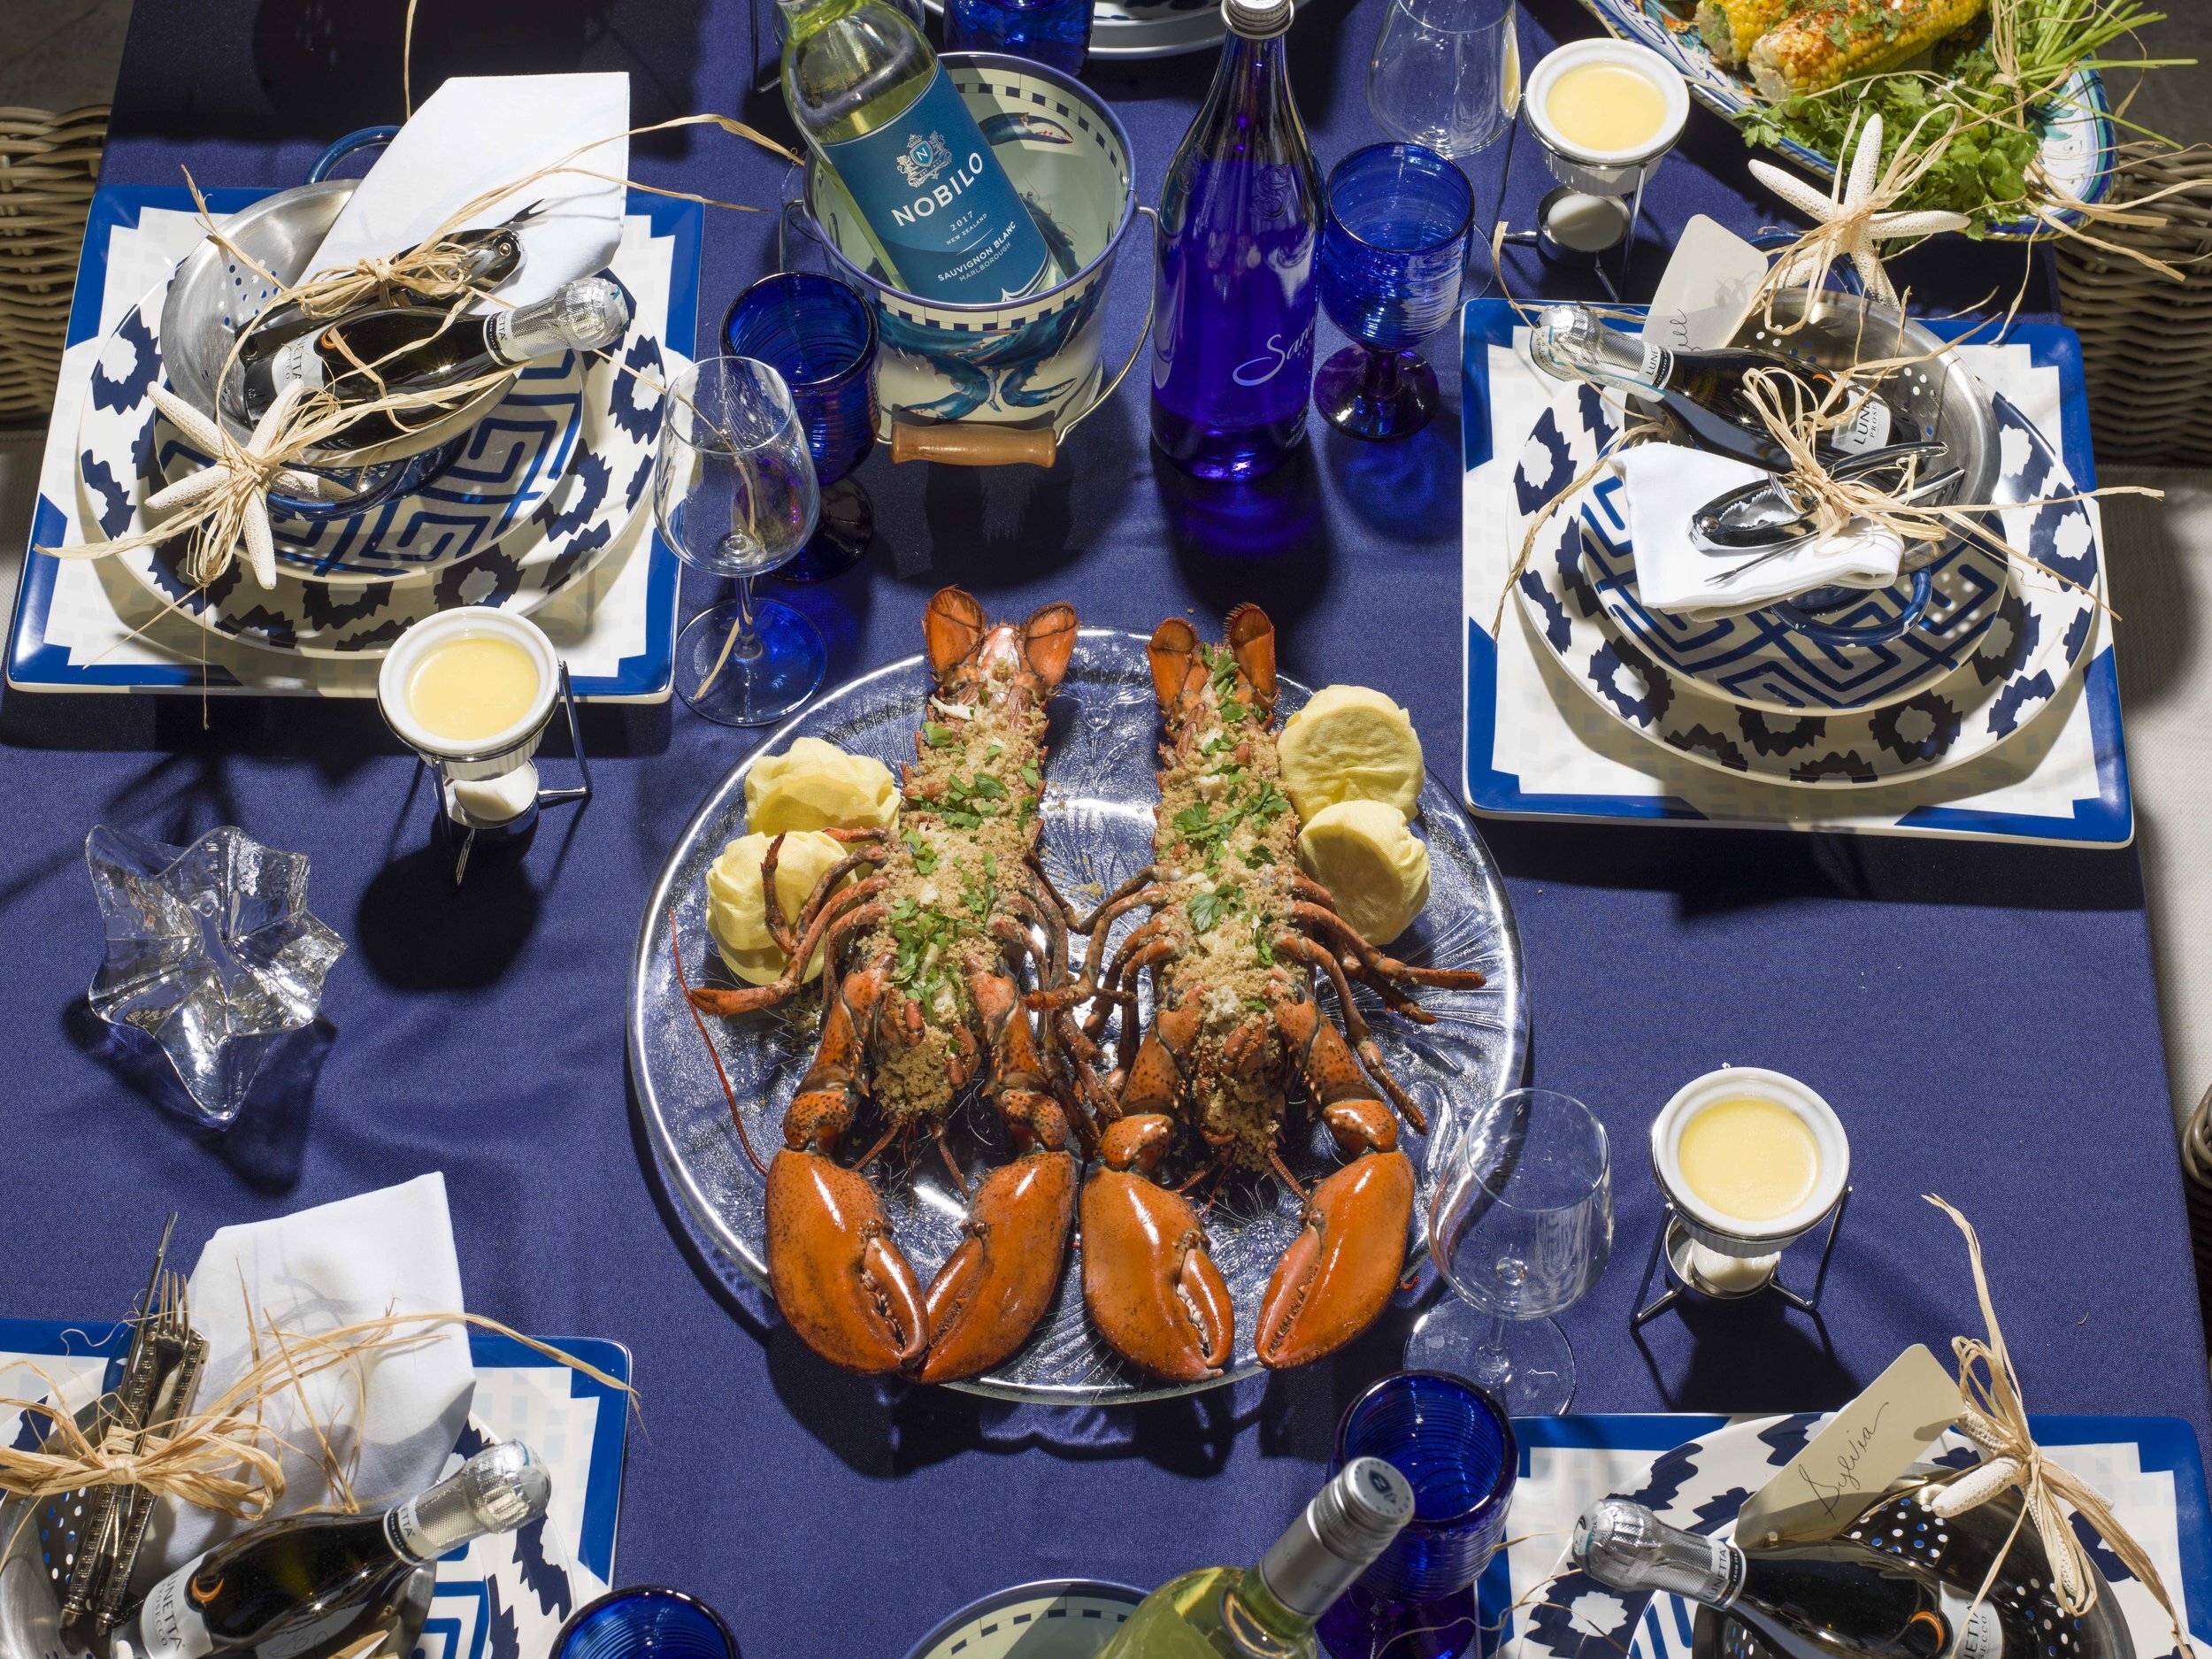
Baked Stuffed Lobsters
Mexican Street Corn (YUM!)
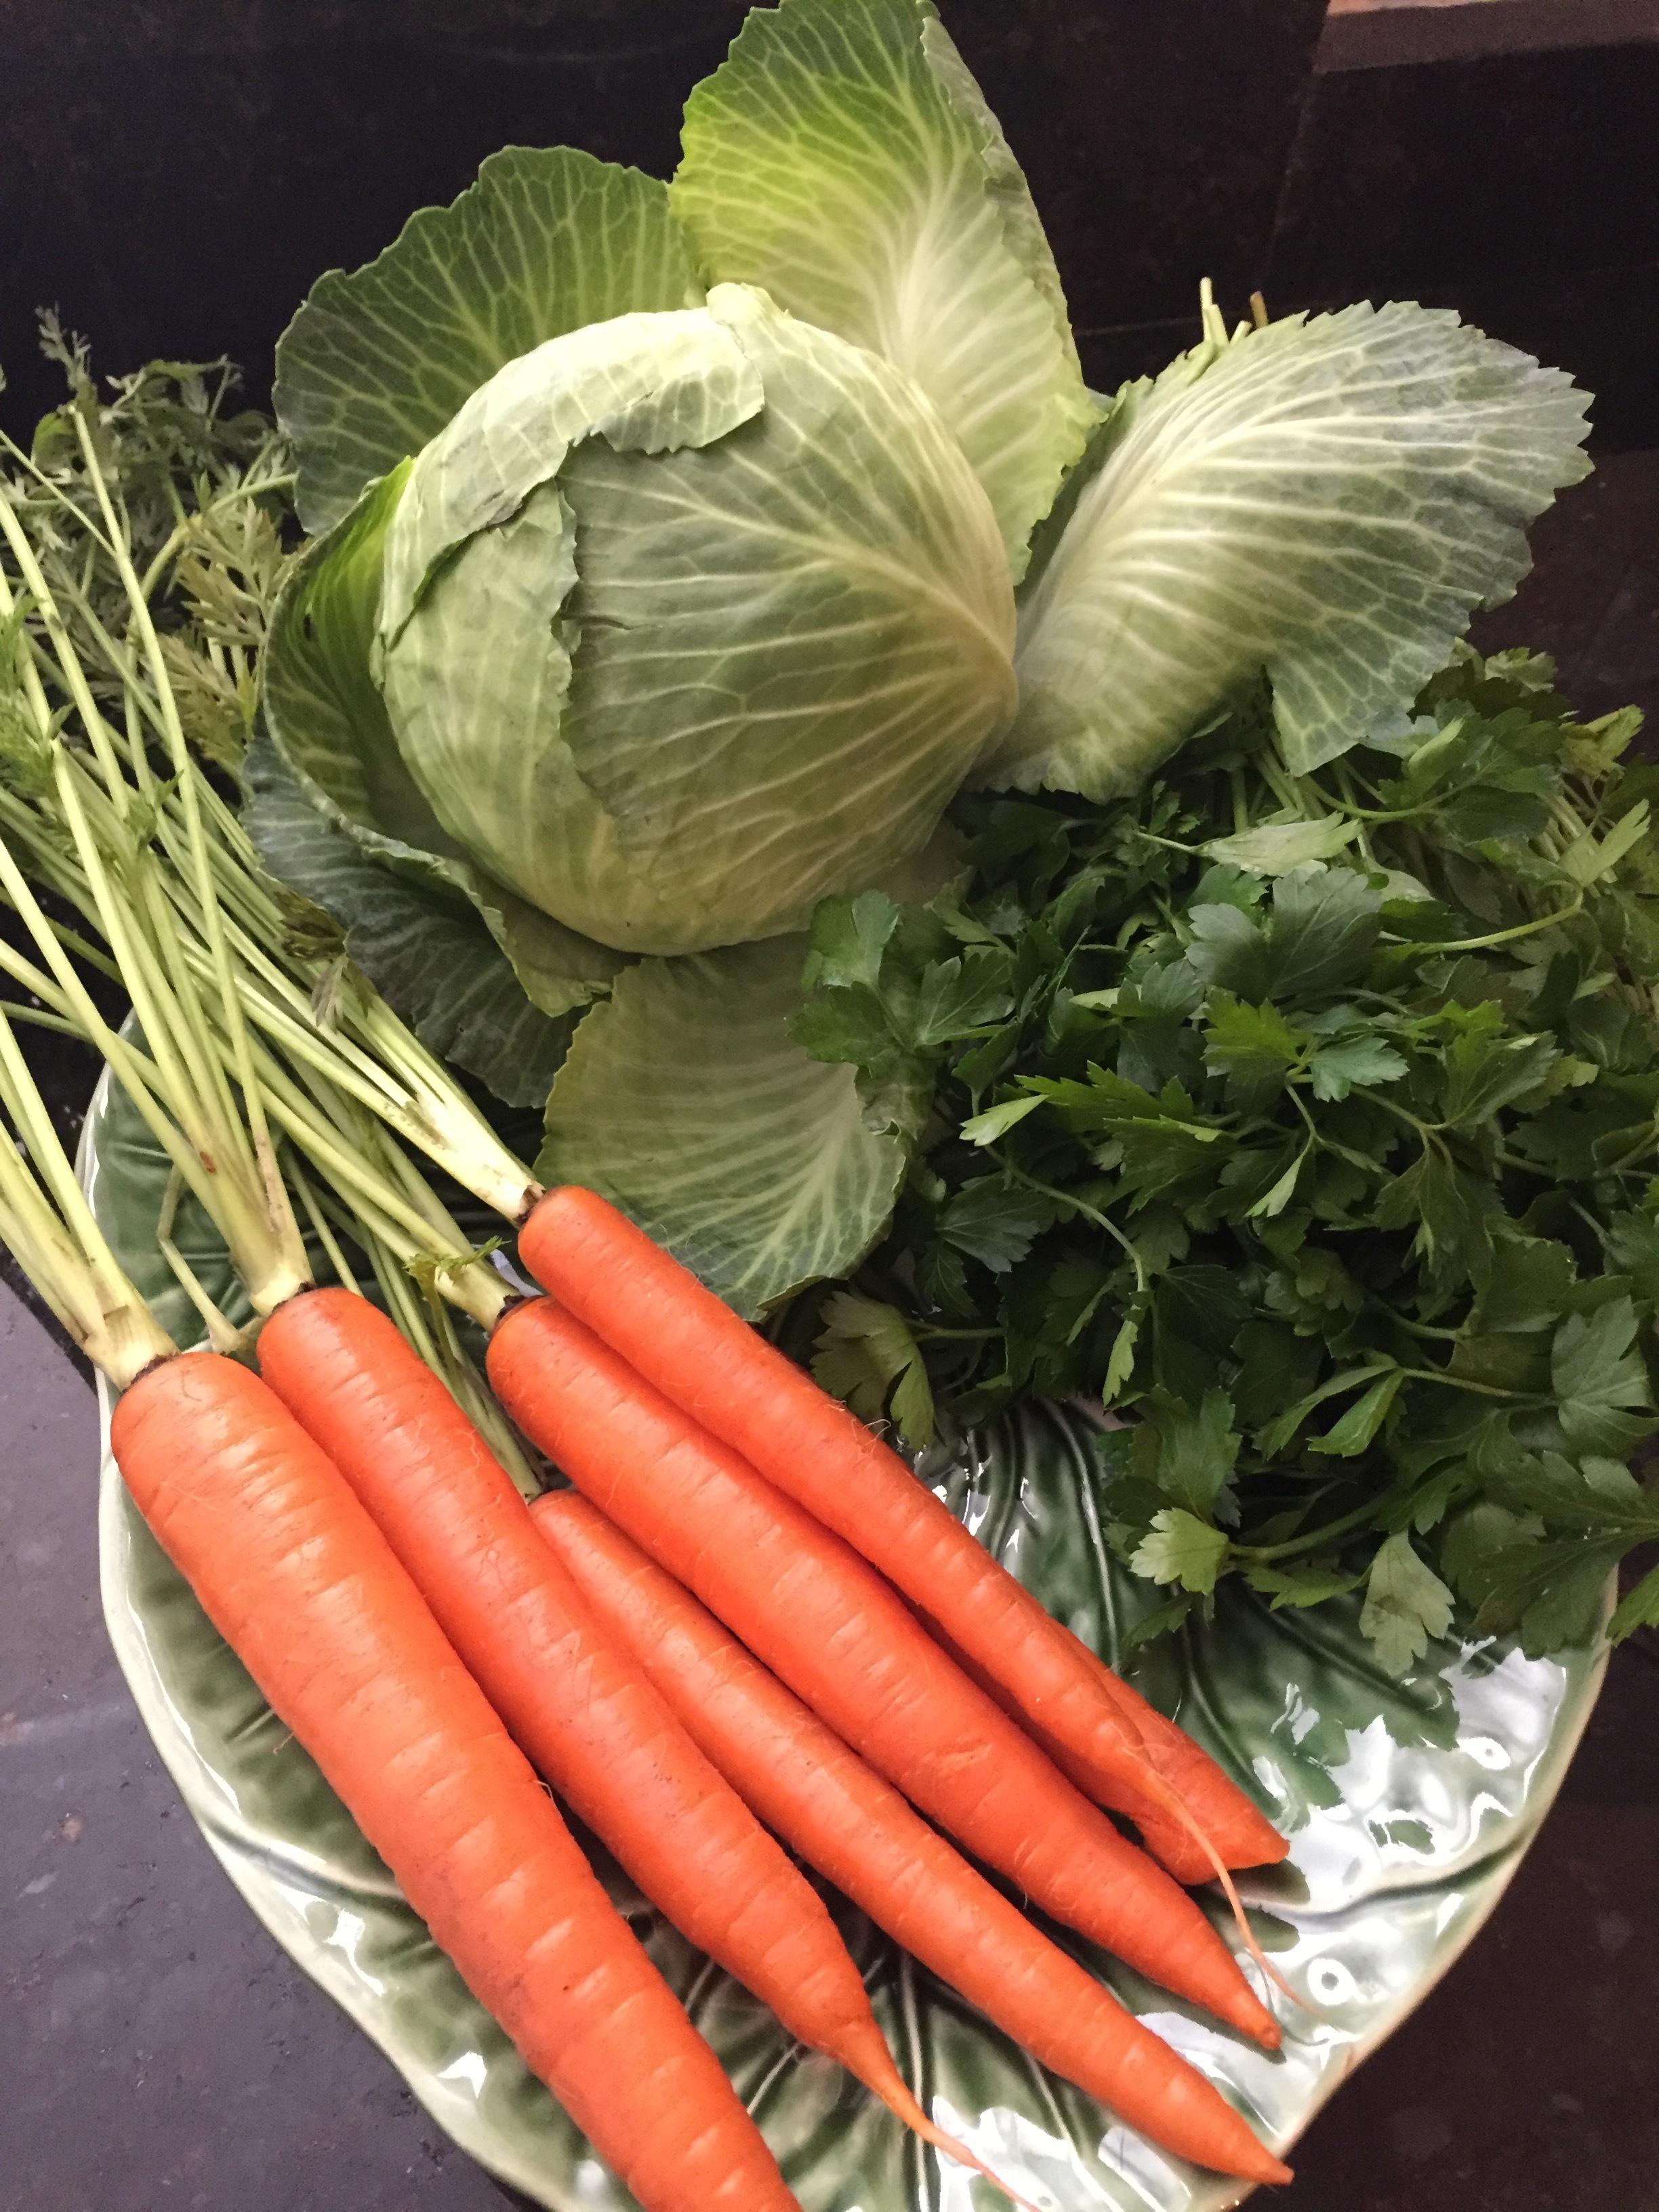
Boiled Red Bliss Potatoes with Truffle Butter (truffle salt) and Parsley
Grilled Romain Lettuce with Ranch Dressing
Char Grilled Broccoli with EVOO and course Sea Salt
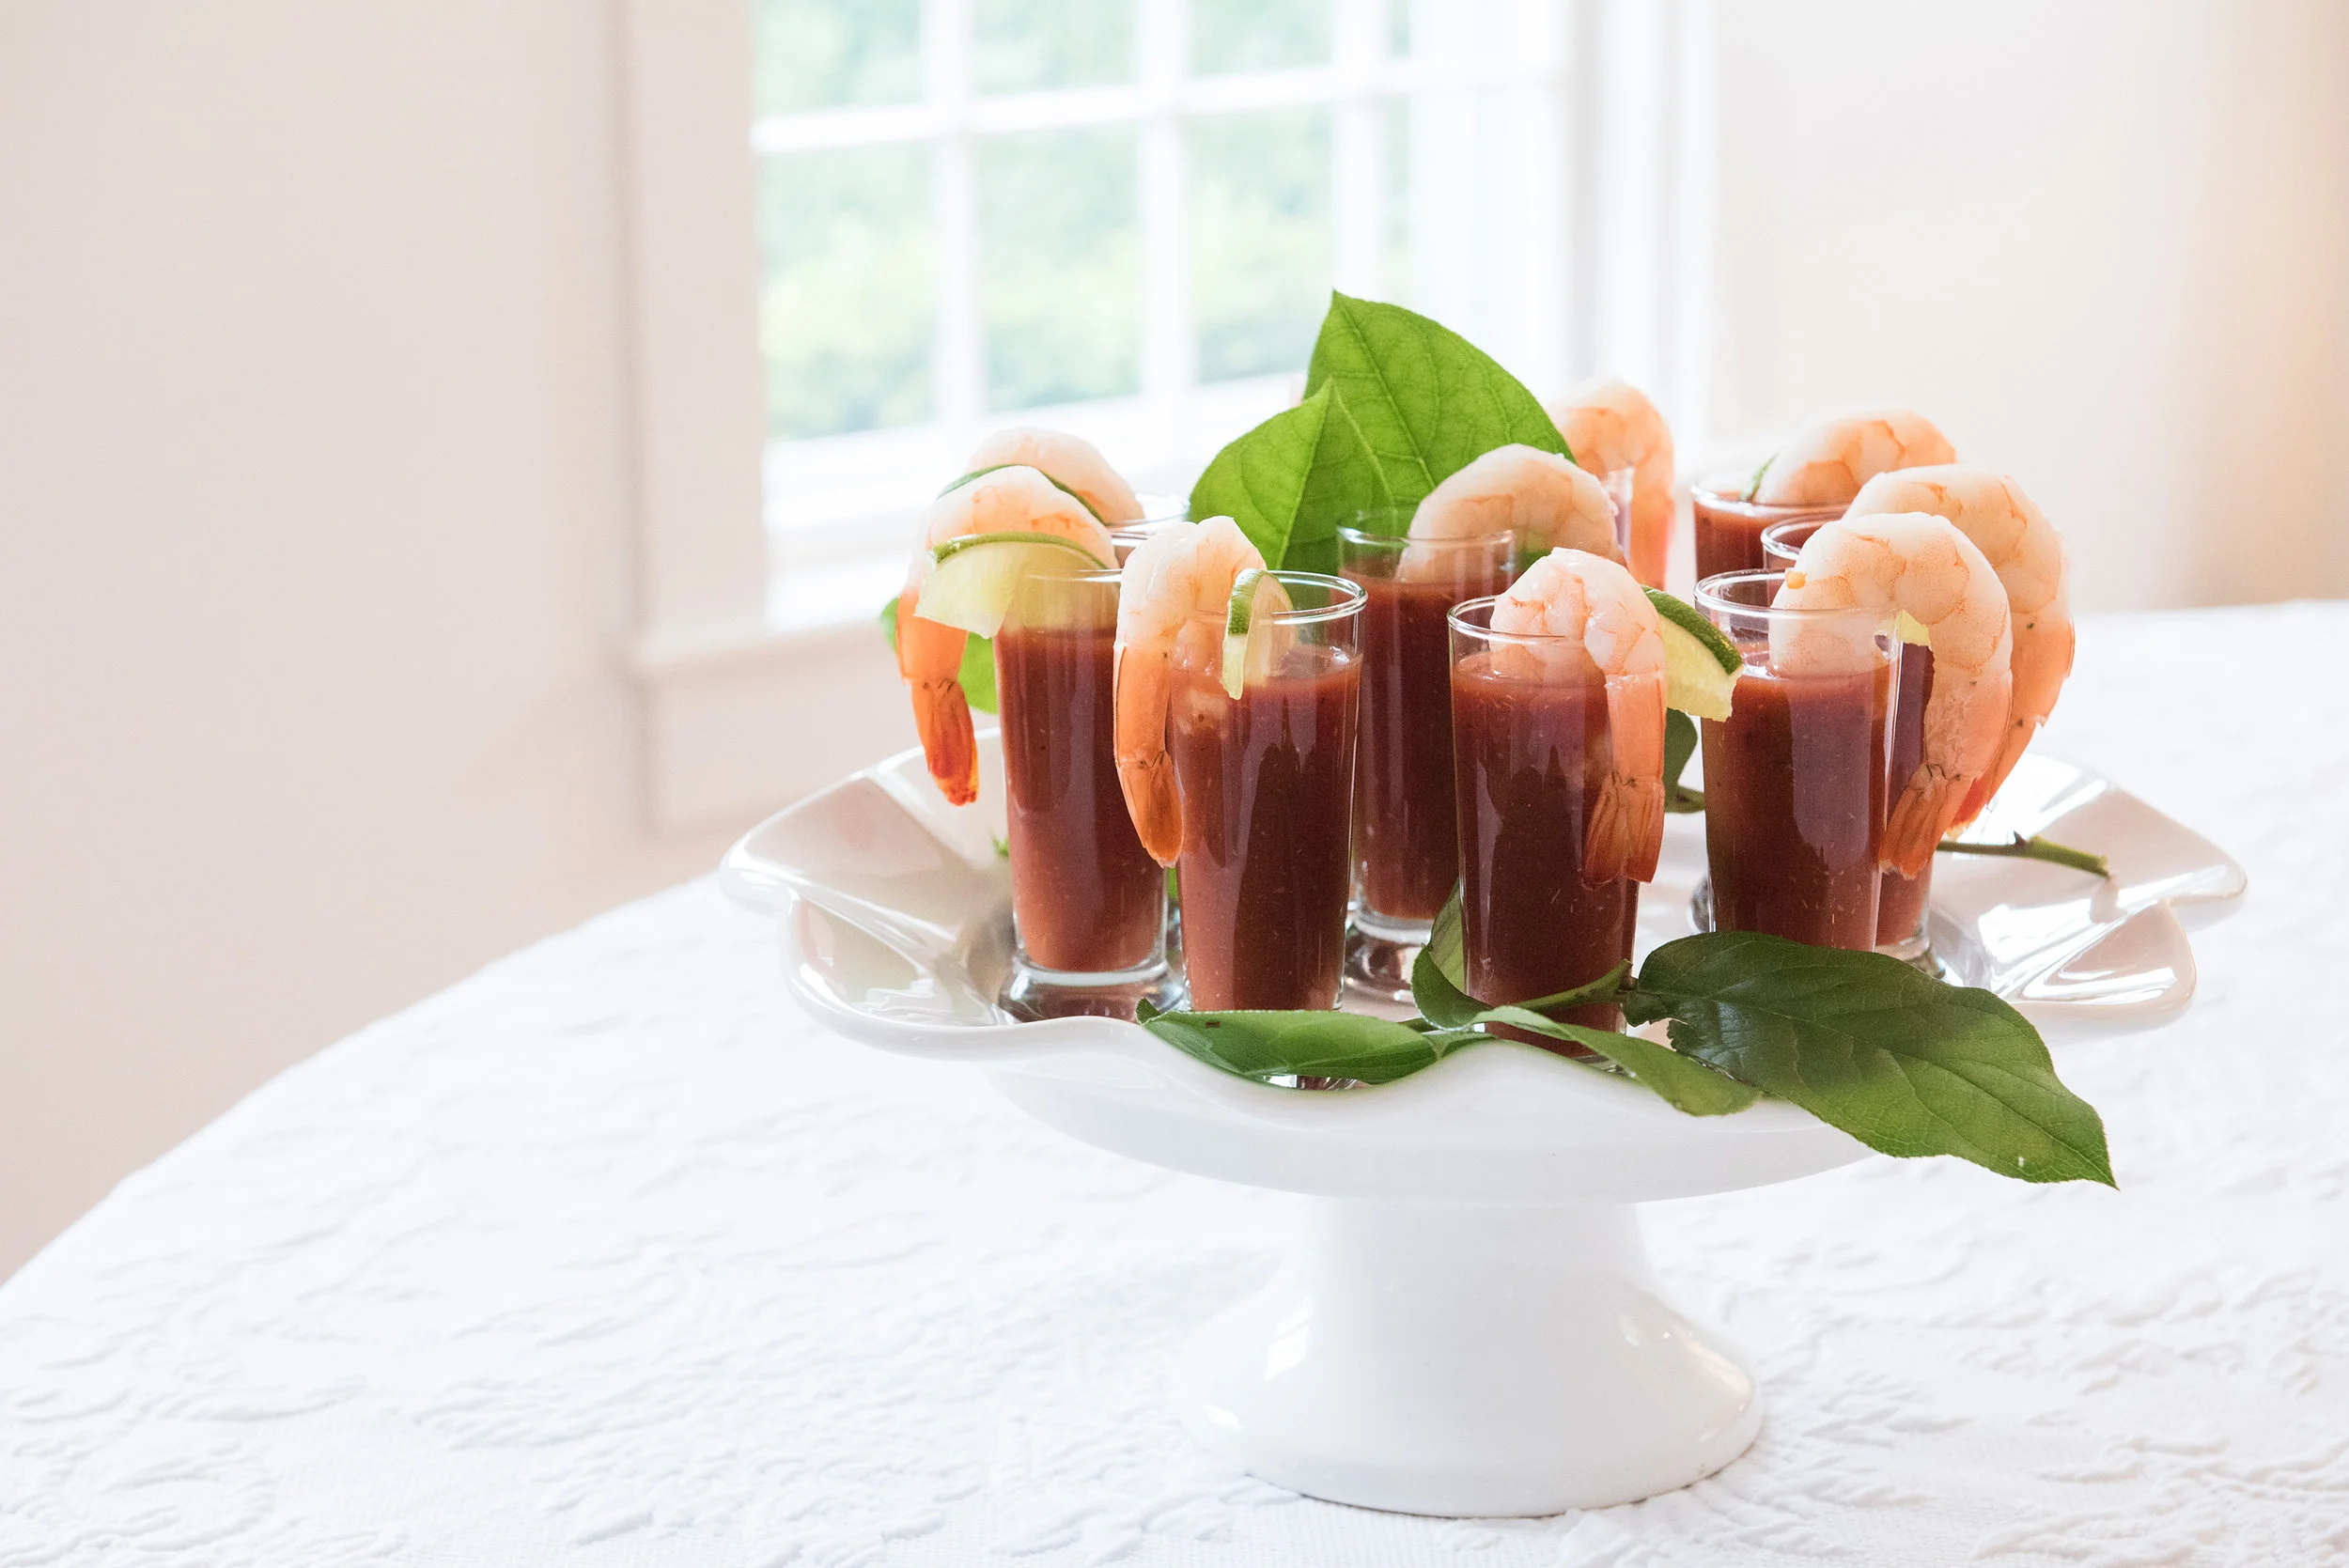
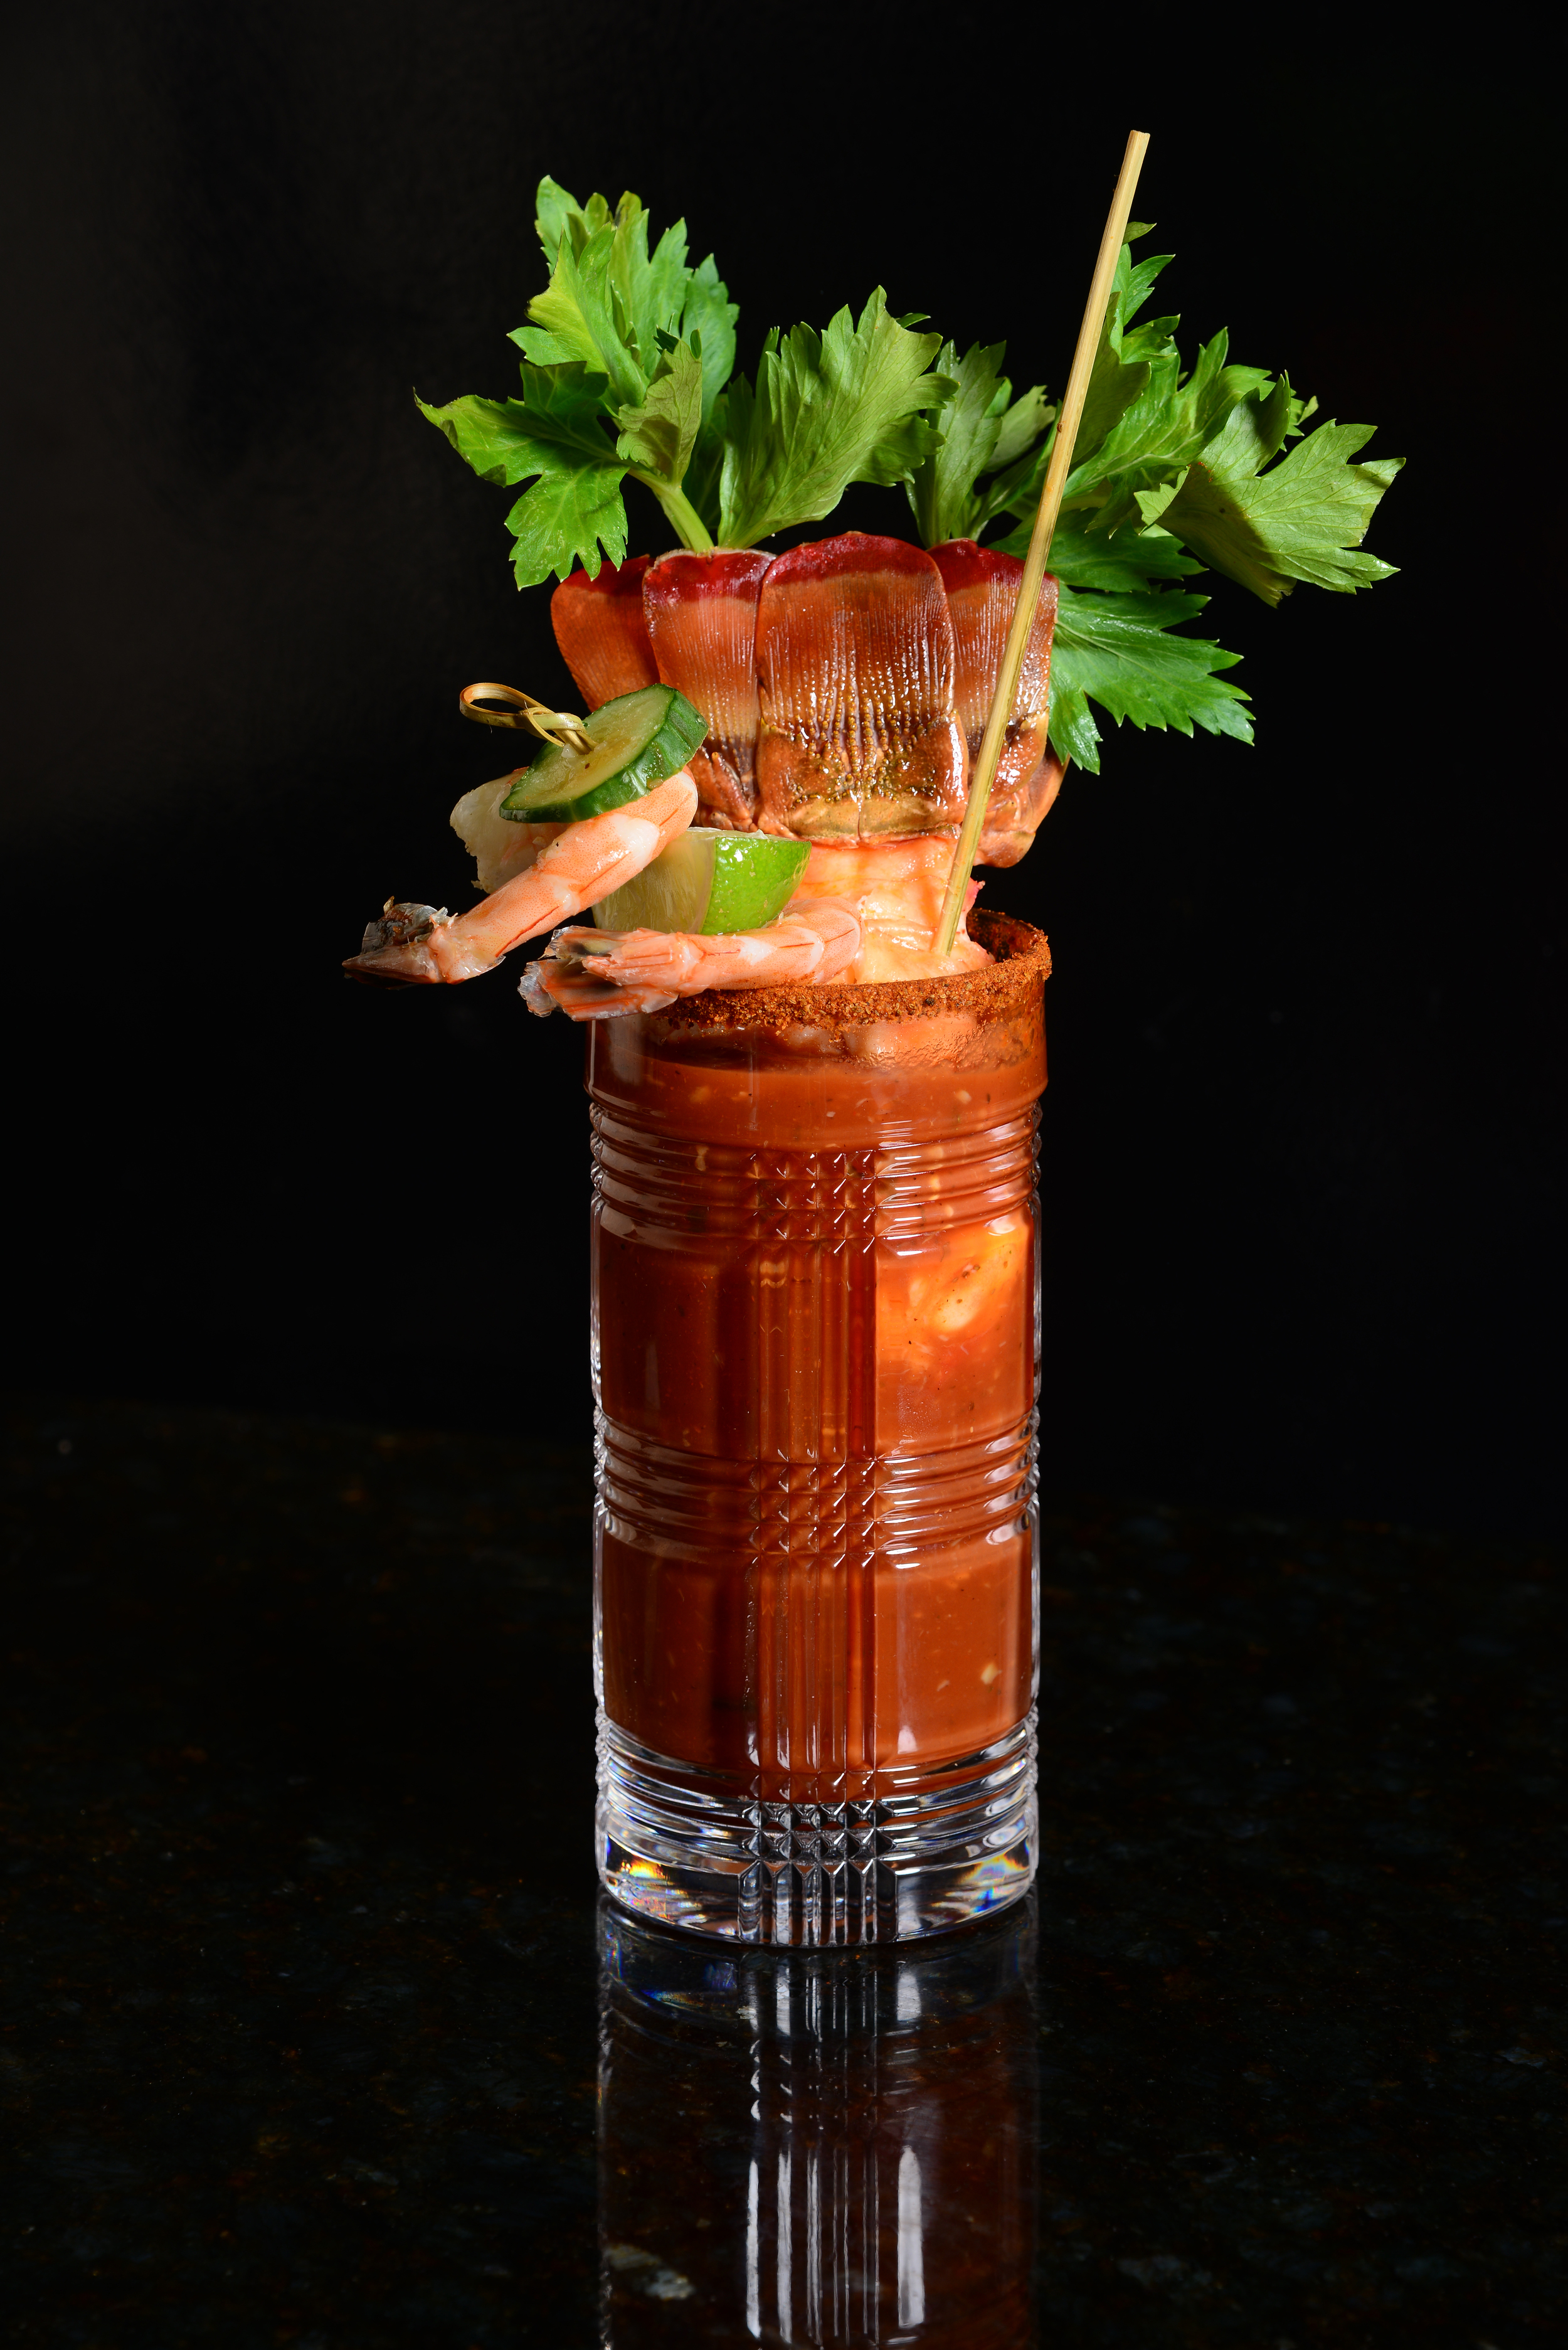
Clam Chowder
Assorted Sorbets in bright colors
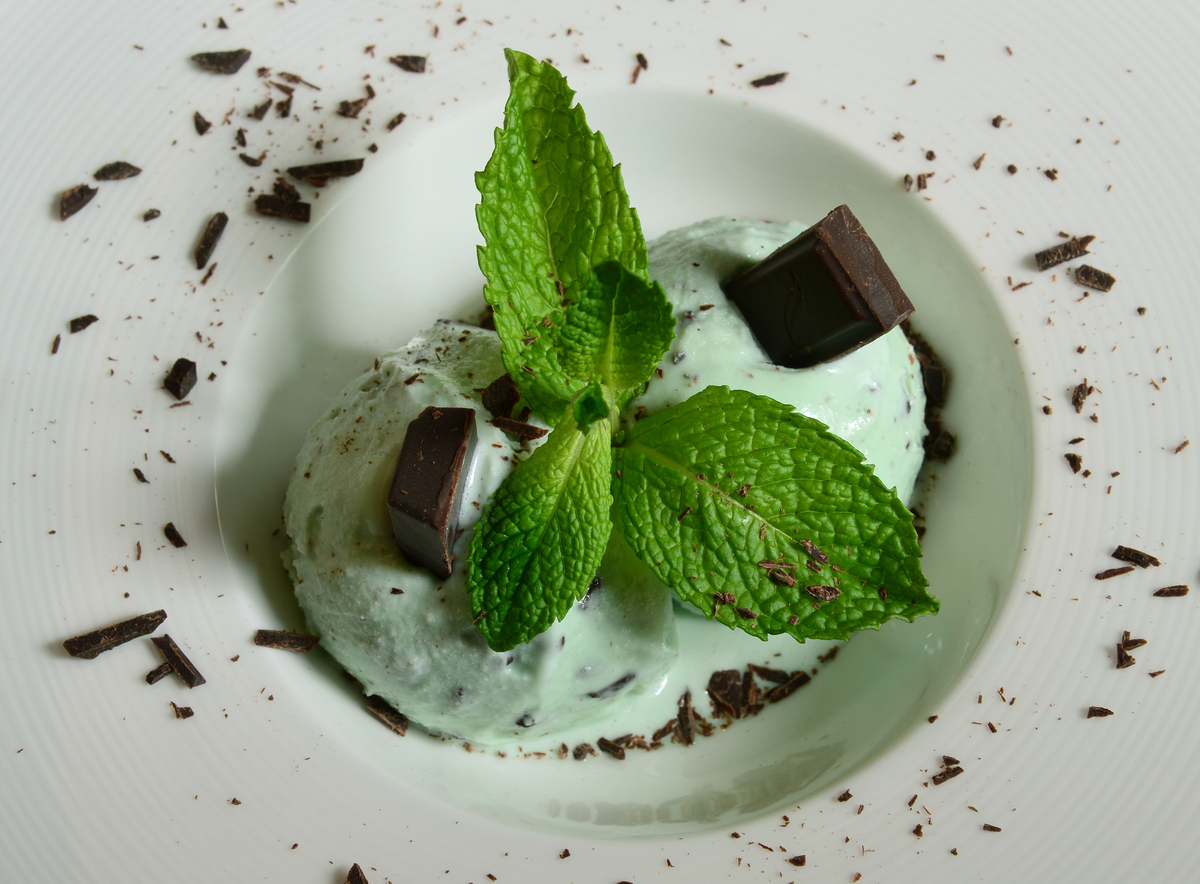
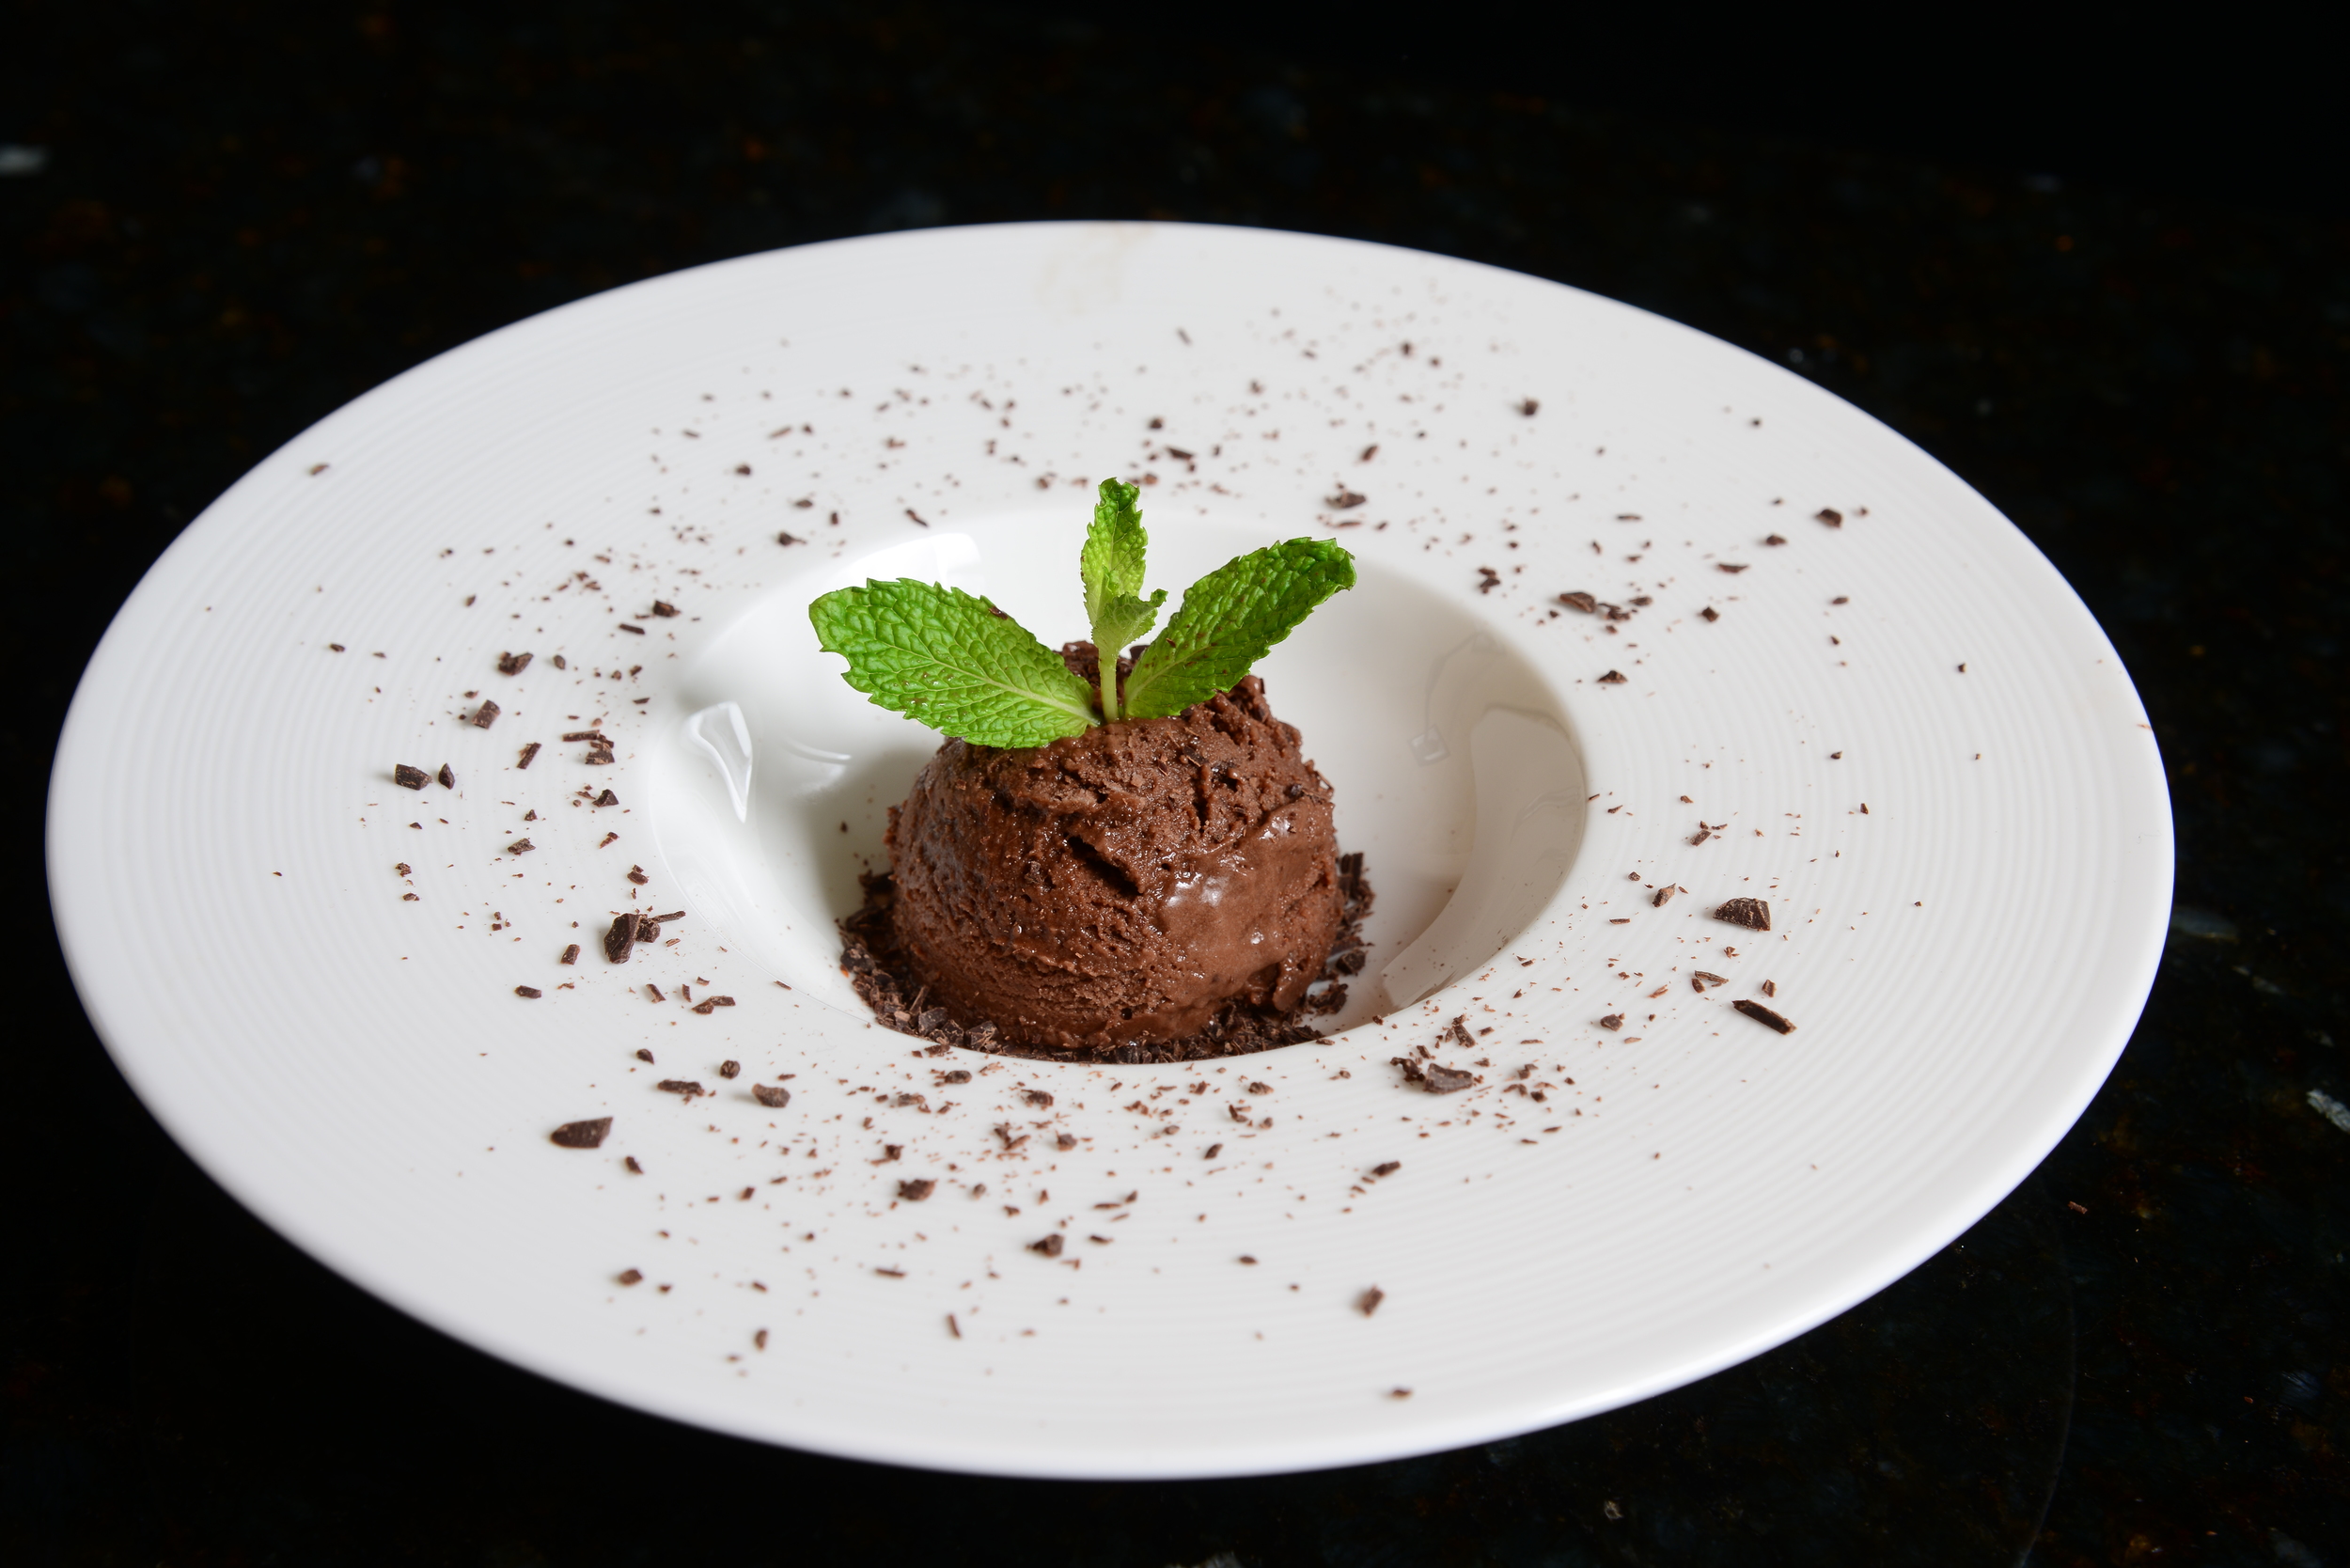
Mediterranean Mint Gelato with Shaved Chocolate and Mint Sprig
Watermelon Blueberry Bites (get out your circle cutters!)
S’mores (always a big seller!)

Some Recipes for You!
Lyons Family Baked Stuffed Lobster (Serves 2)
***NOTE I usually cook 6 in one oven on two cookie sheets with 3 on each. Please be sure the cookie sheets fit in your oven!! If you have 2 ovens you can cook 12!
2 1 ½ lb Maine Cold Water Lobsters, split and cleaned
¼ lb (I stick) Unsalted Butter melted
2 Cups Italian Style Breadcrumbs
3 Lemons
4 oz Lump Crabmeat
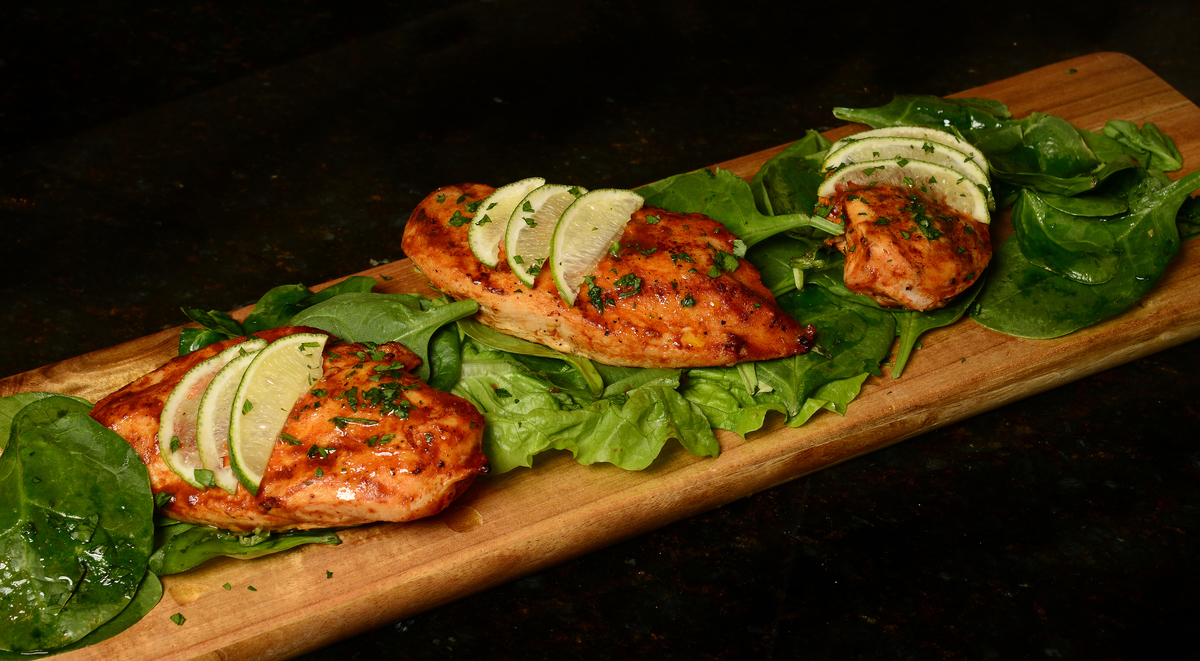
4 oz Cooked Shrimp or Nantucket Bay Scallops
¼ Cup Dry Sherry (or to taste)
¼ Cup Chopped Parsley
¼ Cup Melted Butter
¼ Cup Melted Butter
½ Cup Melted Butter on the side
2 Skewers
1 Tbsp Olive Oil
Salt & Pepper (to taste)
Stuffing
Mix the following together in a bowl
Melted 1 stick butter, breadcrumbs, crabmeat, shrimp or scallops, sherry, juice from one squeezed lemon
Salt and Pepper to taste
Prepare Lobsters
Have your local fish market split lobsters down the belly (being careful not to go through to the back), and clean them for you.
***Speak to your fish monger about safe handling for fish!
Let’s Cook!
Skewer each lobster from head to toe to prevent curling during baking
Place each lobster on its back on a cookie sheet
Preheat oven to 350 degrees
Stuff each lobster loosely with seafood stuffing
Drizzle with ¼ Cup melted butter
Bake in middle of the oven for 20-30 minutes
Turn on broiler for a few minutes if you prefer toasted stuffing. ( Watch closely)
To Serve
Remove from oven
Remove skewers
Drizzle with remaining ¼ cup of butter over two lobsters
Squeeze juice of half a lemon on lobsters
Sprinkle with parsley
Shine claws and exposed shells with olive oil and paper towel
Serve with a warm side of melted butter for dipping lobster meat
Serve with a half lemon on the dish (optional) YUM!
Penny’s Mexican Street Corn (Serves 6)
I had my first Mexican Street Corn in NYC at Tacombi on Bleeker Street a few years back. I melted in my chair along with the mayo and sour cream! I like a heavily loaded ear of corn!
Ingredients
6 Ears of Sweet Summer Corn
½ Cup Mayonnaise
½ Cup Sour Cream
½ Cup Finely Chopped Cilantro
1 Small Bunch Cilantro to Garnish Platter
¼ Cup Grated Parmesan Cheese
1 Cup Cotija Cheese (or crumbled Feta if desired)
1 Tbsp Chili Powder (or to taste)
Lime for sprinkling
Butter for Griddle
Cooking Spray for Grill
Baking Dish
Prepare Corn
You can either boil or grill corn. Either way, coat corn with mixture while HOT.
TO BOIL: Bring a large pot of water to boil. Gently place shucked ears of corn with silks removed in water and boil for 3 minutes. Turn off water. Cover and let stand for 5 minutes until tender. Drain. Pat dry. Doneness depends on size of ears….Check..
TO GRILL: You can grill stovetop on a griddle coated with butter or on an outdoor grill sprayed with cooking spray. If grilling, I prefer husks on and tied back like a ponytail. This makes for a more dramatic presentation. Grill, turning corn for 7-10 minutes. Temps depend on your grill. Medium heat on a griddle and medium to high heat on the grill. Keep an eye on corn to prevent burning, working to get a nice char.
Let’s Cook!
Mix the mayonnaise, sour cream, parmesan cheese and cilantro in a bowl. Spread mayonnaise mixture in baking dish and roll each ear, generously coating. Place on decorative platter. Sprinkle ears of corn with Cotija cheese, Chili Powder to taste and chopped Cilantro. Sprinkle with the juice of 1 squeezed lime. Garnish your platter with a bouquet of cilantro tied with raffia and serve immediately.


Mediterranean Mint Gelato
Talenti Mediterranean Mint Gelato (love this brand!)
Theo Organic 70% Dark Chocolate Bar OR cut into chunks and shaving.
Place two small scoops in bowl
Top with a few chunks of chocolate
Sprinkle the whole bowl (including rim) with shaved chocolate
Top with mint sprig

Congratulations to Workers Everywhere
We Celebrate You & We Celebrate Americana!
RESOURCES:
Visual Production Credits: iStock
Mexican Corn: iulilia_n
Cornfield: Tottoon
Broccoli: Cavan Images
Labor Day Banner: Silver V
Dishes: Coton Colors
Dishes: Crate & Barrel
Crab Pails and Strainers: Home Goods
Stemware: Ballard Design